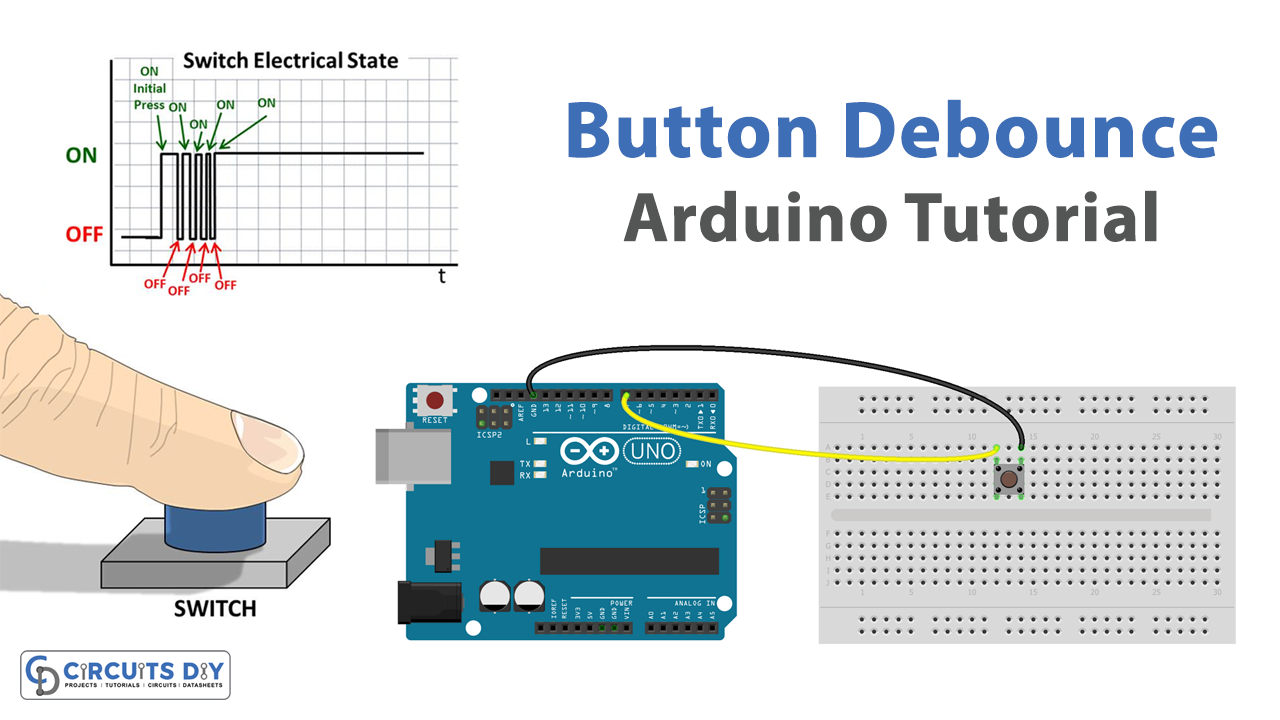
What is debounce?
When using physical devices like buttons or switches, the bouncing effect generates noise, causing multiple unwanted interrupts. Debounce eliminates this noise.
Testing the Bounce
To test the bounce effect, connect Pin 2 to Ground using a wire or button and count the interrupts triggered.
const int intPin = 2;
volatile int ISRCounter = 0;
int counter = 0;

void setup() {
    pinMode(intPin, INPUT_PULLUP);
    Serial.begin(9600);
    attachInterrupt(digitalPinToInterrupt(intPin), debounceCount, FALLING);
}

void loop() {
    if (counter != ISRCounter) {
        counter = ISRCounter;
        Serial.println(counter);
    }
}

void debounceCount() {
    ISRCounter++;
}
Eliminating the Bounce
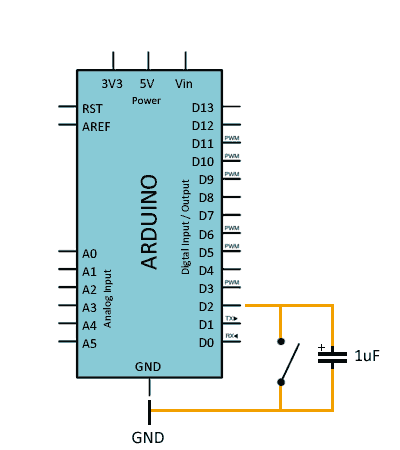
Hardware Debounce
Use a capacitor (1uF) in parallel with the button or switch to filter noise.
Software Debounce
Filter the bounce in code by ignoring interrupts that occur within a certain time threshold.
const int timeThreshold = 150;
const int intPin = 2;
volatile int ISRCounter = 0;
int counter = 0;
long startTime = 0;

void setup() {
    pinMode(intPin, INPUT_PULLUP);
    Serial.begin(9600);
    attachInterrupt(digitalPinToInterrupt(intPin), debounceCount, FALLING);
}

void loop() {
    if (counter != ISRCounter) {
        counter = ISRCounter;
        Serial.println(counter);
    }
}

void debounceCount() {
    if (millis() - startTime > timeThreshold) {
        ISRCounter++;
        startTime = millis();
    }
}
Best Practices
Combine hardware (capacitors) and software debounce for the best results. Adjust time thresholds for specific devices.