Getting Started
In this guide, we will create your first Arduino program. Make sure you have an Arduino UNO board (or similar) and that you have installed the Arduino IDE on your computer.
Preparing the Connection
Follow these steps to prepare your Arduino board for programming:
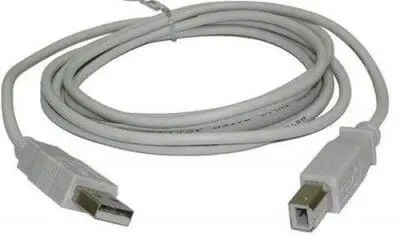
- Connect the Arduino board to your computer using a USB A-B cable.
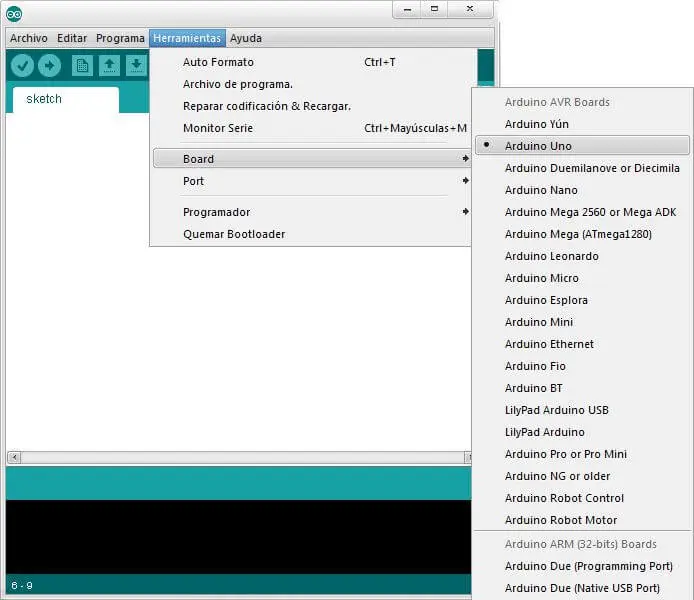
- Open the Arduino IDE and select the correct board model.
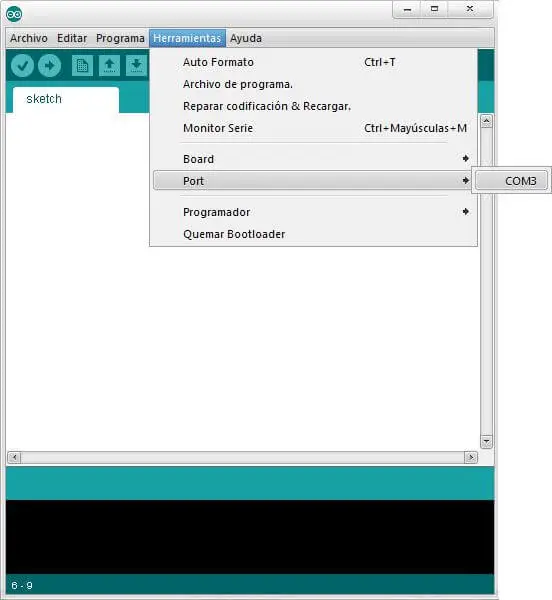
- Choose the correct communication port (e.g., COM3 on Windows or /dev/ttyACM0 on Linux).
Basic Program Structure
Arduino programs follow a standard structure as shown below:
// Definitions area

void setup()
{
  // Initialize functions here
}

void loop()
{
  // Main logic here
}
Explanation of the structure:
- Definitions area: Used to define variables, functions, and objects.
- Setup function: Runs once when the board starts or when the reset button is pressed. Used to initialize variables and hardware.
- Loop function: Runs continuously and contains the main logic of the program.
Loading an Example Program
To ensure everything is set up correctly, let's load a simple example:
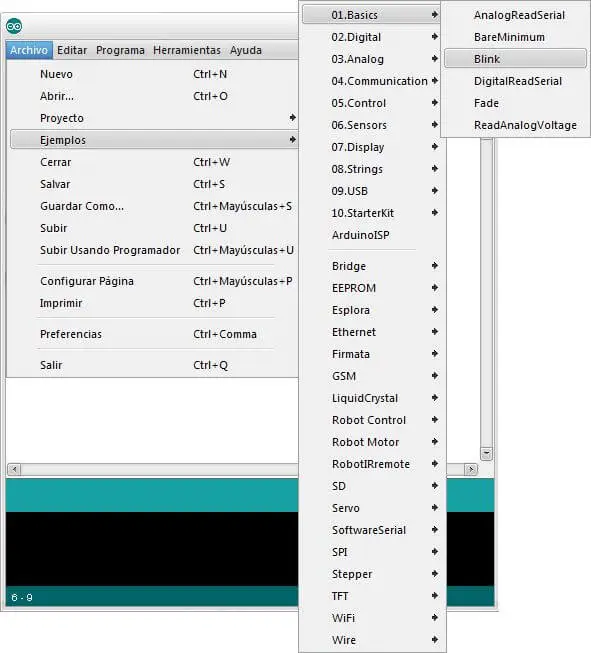
- Open the Arduino IDE and go to File > Examples > Basics > Blink.
- The following code will appear:
const int pinLED = 13;    // Define the LED pin as 13

void setup()
{
  pinMode(pinLED, OUTPUT);     // Set pin 13 as output
}

void loop()
{
  digitalWrite(pinLED, HIGH);   // Turn on the LED
  delay(1000);                  // Wait for 1 second
  digitalWrite(pinLED, LOW);    // Turn off the LED
  delay(1000);                  // Wait for 1 second
}
This code will turn the LED connected to pin 13 on and off every second. Most Arduino boards have a built-in LED on pin 13.
External Power Source
After programming the board, you can disconnect the USB and use an external power source:
- Via USB: Use a regulated 5V power source via the USB port.
- Via Vin: Use a voltage between 7-12V through the Vin pin (e.g., a 9V battery).
Make sure the power source is stable to avoid damaging the board.
Congratulations!
If you see the LED blinking, your setup is complete. You are now ready to explore more advanced projects 🎉.